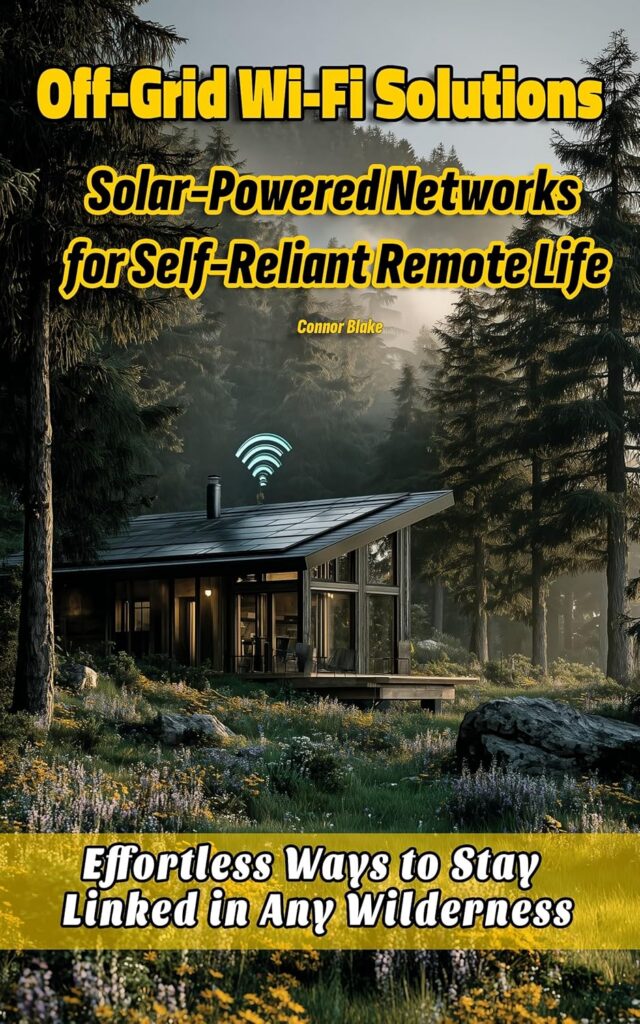
Off-Grid Wi-Fi Solutions: Solar-Powered Networks for Self-Reliant Remote Life
Set up reliable Wi-Fi far from the power grid. A practical guide to solar-powered wireless networks for cabins, remote homes, and off-grid living — no electrician required.
What you'll read.
What readers are saying.
I set up solar-powered Wi-Fi for my cabin thanks to this book. It explains everything from panel sizing to mesh node placement — exactly what I needed.
Finally a guide that treats off-grid Wi-Fi as a real system, not an afterthought. The solar calculations section alone is worth the price.
Bought this for our van build. Clear, practical, and doesn't assume you're an engineer. Our connection in the middle of nowhere is now rock solid.
Connor Blake writes like he's sitting across from you explaining it. No jargon, just real advice that works.
Related books.

The Ultimate RV Wi-Fi Guide: Staying Connected on the Road
Your complete guide to fast, reliable internet on the road — from campground Wi-Fi and cellular hotspots to satellite internet and in-RV mesh networking.
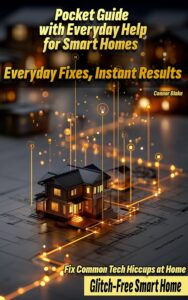
Pocket Guide with Everyday Help for Smart Homes: Everyday Fixes, Instant Results
A quick-reference troubleshooting guide for the most common smart home headaches — lights that won't respond, speakers that drop out, and automations that stop…

Unlocking Digital Memories After Death: Step-by-Step Recovery of Photos and Videos from Devices and Online Storage
A compassionate step-by-step guide to recovering photos, videos, and files from a loved one's phone, computer, or cloud account after they pass away. No…
Related dispatches.
Wi-Fi 6 vs. Wi-Fi 5: Is Upgrading Your Router Actually Worth It in 2026?
Wi-Fi 6 routers have been mainstream for a few years now. Wi-Fi 6E added the 6 GHz band. Wi-Fi 7 is starting…

Protecting Your Crypto: A Simple Home Network Setup for Digital Asset Holders
Most guides about crypto security focus on wallets, seed phrases, and exchange accounts. That’s the right starting point. But your home network…

Does Router Placement Actually Matter? Yes — Here’s Why
Most people put their router wherever the cable is. That’s usually a corner of the living room, next to the TV, on…
Off-Grid Wi-Fi Solutions: Solar-Powered Networks for Self-Reliant Remote Life
166 pages · Kindle