Making the Switch: How to Upgrade from a Single Router to Mesh Without Losing Your Mind
Upgrading to a mesh system sounds like a straightforward task until you’re standing in front of your equipment at 9pm wondering why half your smart home devices have gone offline. The transition doesn’t have to go that way, but it does benefit from a little planning.
Here’s what the process actually looks like, and how to make it smooth.
Before you touch anything: a five-minute survey
Grab a notepad or open a notes app and write down:
- The name (SSID) and password of your current Wi-Fi network — both 2.4 GHz and 5 GHz if you have separate names
- A rough count of how many devices you’ll need to reconnect (or check your router’s device list)
- Which devices are finicky — smart home gadgets, printers, anything that was hard to set up the first time
This list will save you a lot of frustration during reconnection. The goal is to not lose track of your current setup before you’ve built the new one.
The two approaches: same SSID or different
This is the most important decision to make before you start, because it determines how much reconnection work you’ll have to do.
Option A — Use the same network name and password as your old router. Configure your new mesh system with the exact same SSID and Wi-Fi password your old router used. When you switch off the old router and turn on the mesh, most of your devices will reconnect automatically — they’ll see the same network they always knew. Smart home devices, laptops, phones: anything that was connected to HomeNetwork before will find HomeNetwork again and join without intervention. This is the path of least resistance and works well for most people.
The catch: you need to be able to configure the mesh system’s SSID and password before you bring it online. Most mesh apps let you do this during setup.
Option B — Use a new network name. This is cleaner from a networking standpoint and avoids any potential confusion if you have issues. The trade-off is that you’ll need to manually reconnect every device to the new network. For homes with lots of smart home gear, this can take a while.
If you have fewer than 15 devices or you want a clean break, Option B is fine. If you have 30+ devices and several of them are smart home gadgets in awkward locations, Option A saves a lot of time.
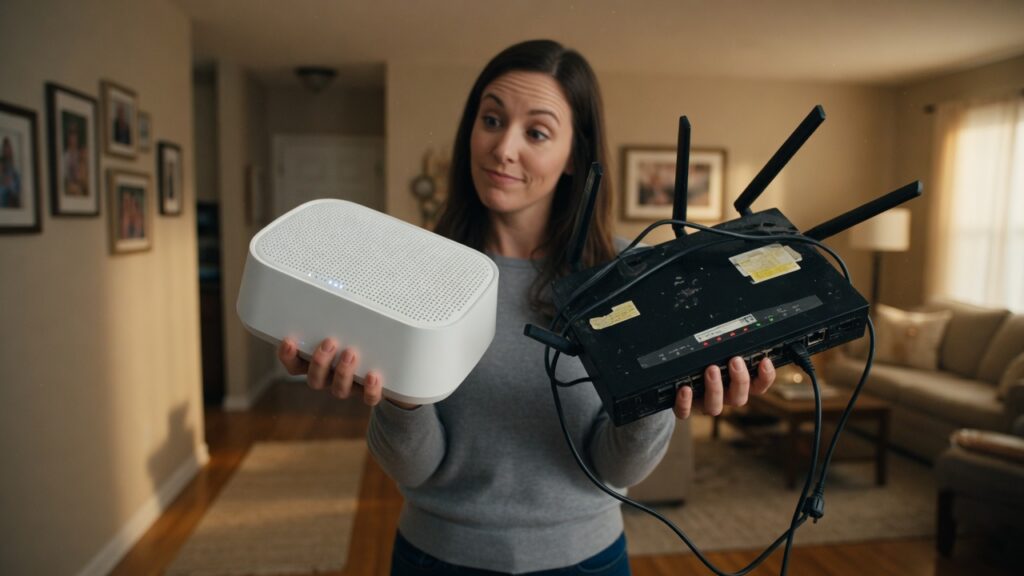
What to do with your old router
When you replace your router with a mesh system, the mesh primary node takes over the job your old router was doing. Your old router should not stay on and connected to the modem — that would create a double-NAT situation where you have two routers in series, which causes all sorts of problems with port forwarding, local device discovery, and occasionally performance.
Options for the old router:
- Retire it. If you don’t need it, unplug it and put it in a drawer.
- Use it as an access point. Many routers can be reconfigured in access point mode, where they extend the network without routing. This can fill coverage gaps in large homes. Not all routers make this easy to configure, and it’s not necessary if your mesh system covers everything.
- Use it as a dedicated switch. If you need more wired ethernet ports, you can repurpose the old router as a switch by plugging devices into its LAN ports and disabling its DHCP server. Again, only if you specifically need this.
For most people: retire it. The mesh handles everything.
The actual switchover process
- Set up your mesh system per the manufacturer’s instructions, including downloading the app and completing the configuration. Do this with the old router still running if you can — you can do the software setup before switching the physical connections.
- Confirm your mesh SSID and password are set to whatever you decided (same as old, or new).
- Unplug your old router from the modem. Plug your new mesh primary node into the modem in its place. Give it a minute to establish the connection.
- Check that the primary node has internet access using the manufacturer’s app.
- Place and power on any additional nodes. The app will walk you through adding them.
- Test connectivity from a phone or laptop.
- If you went with a different SSID, reconnect your devices one by one. Start with phones and laptops, then work through smart home gear. Smart home devices usually need to be removed from their app and re-added using the new network credentials.
The part that usually goes sideways
Smart home devices. They’re almost always the most time-consuming part of a network switch. Thermostats, smart bulbs, cameras — some require a factory reset before they’ll accept new credentials. Check the manufacturer’s reconnection instructions for each before you start. Some are instant; some require you to hold a button for ten seconds and set them up from scratch.
If you’re going with Option A (same SSID), you’ll probably avoid most of this — devices often reconnect automatically. Test them the evening after the switch and fix any stragglers then.
After the switch
Check your router admin for any settings you had before — static IP assignments, port forwarding rules, DNS settings — and recreate them in the new system. These won’t transfer automatically. Most mesh systems handle this through the app rather than a traditional web interface.
Give it a few days. Performance often improves noticeably in spots that previously had weak signal. If something’s not working right a week later, post your question — mesh troubleshooting is a topic I’ll be covering in more detail.

Connor writes practical guides on Wi-Fi, mesh networks, and home security — breaking down complex IT topics into clear, beginner-friendly steps.
More about me →