What Is DNS, Why Does It Matter, and How to Change It in 5 Minutes
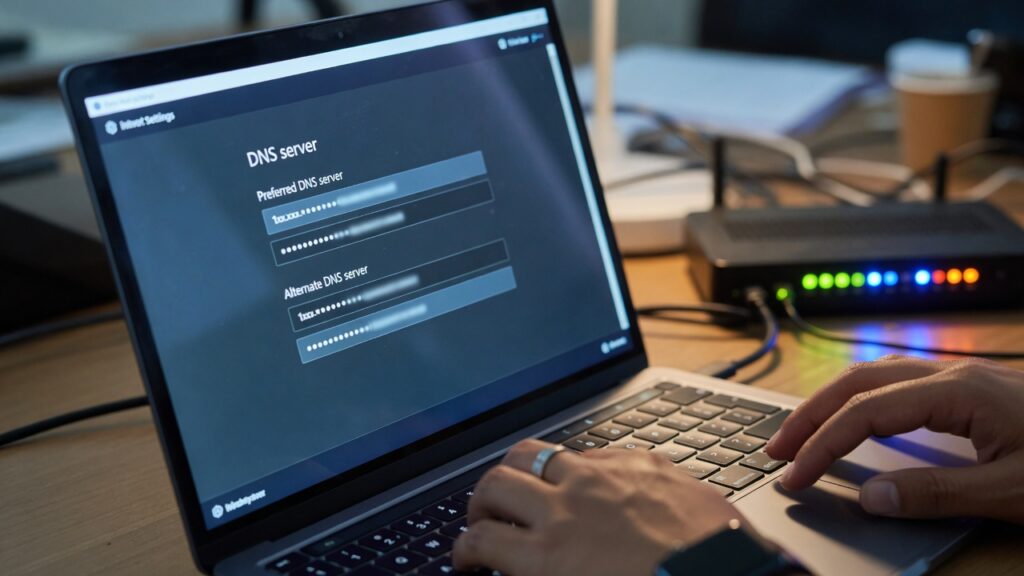
DNS is invisible when it works and baffling when it doesn’t. Most people have never thought about it. But it’s one of those settings — like your router placement — where making one small change can improve your internet experience, and in some cases, meaningfully improve your privacy.
Here’s what DNS actually is, why your ISP’s default is probably not your best option, and how to switch to something better.
The phone book explanation (that actually holds up)
Every website has an IP address — a string of numbers like 172.217.168.46 — that computers use to find it. But you type “google.com” into your browser, not a number. Something has to translate “google.com” into the right IP address. That something is DNS: the Domain Name System.
DNS works like a phone book. You look up a name, you get a number. Your device sends a query to a DNS server asking “what’s the IP address for this website?” The server looks it up and replies. Your device connects to that IP address. This happens invisibly, in milliseconds, hundreds of times a day.
The DNS server your device uses by default is almost always the one your ISP provides. You never configured it; it was just assigned automatically when you connected.
Why your ISP’s DNS may not be your best choice
Three reasons to consider a change.
Speed. DNS lookups happen before every connection to a website or service. If your ISP’s DNS server is slow to respond — and many are — it adds a small delay to every web request. Individually, this is imperceptible. Cumulatively across a browsing session, slow DNS can make your internet feel sluggish. Third-party DNS providers like Cloudflare (1.1.1.1) and Google (8.8.8.8) typically resolve queries faster than ISP DNS servers.
Privacy. Your ISP can see every DNS query you make — meaning they can see a log of every website you attempt to visit, even if the actual content is encrypted. Many ISPs use this data for analytics or advertising. Third-party DNS providers like Cloudflare specifically commit to not logging or selling query data. It’s one layer of privacy, not a complete solution, but it matters if you care about who sees your browsing behavior.
Reliability. ISP DNS servers go down or experience issues more often than major third-party providers. When your ISP’s DNS has problems, websites seem to stop working — even though your internet connection is technically fine. Switching to a reliable third-party provider reduces DNS-related outages.
The options worth knowing about
Cloudflare — 1.1.1.1 (primary) and 1.0.0.1 (secondary) Consistently fast, well-regarded privacy policy, independently audited. My first recommendation for most people.
Google — 8.8.8.8 (primary) and 8.8.4.4 (secondary) Very fast and reliable. Less privacy-focused than Cloudflare — Google does use DNS data for its business. But if reliability is the priority and privacy is less of a concern, it’s a solid option.
Quad9 — 9.9.9.9 (primary) and 149.112.112.112 (secondary) Privacy-focused with an added feature: it blocks DNS queries to known malicious domains, providing a basic layer of protection against malware and phishing sites at the DNS level. Good choice for households with children or for extra safety without a more complex setup.
How to change it
You can change DNS on individual devices, or on your router — which then applies to every device on your network at once.
On your router (recommended approach): Log into your router’s admin panel. Look for WAN settings, internet settings, or DNS settings. You’ll see a field for “DNS Server” — change the primary to 1.1.1.1 and the secondary to 1.0.0.1 (or your chosen alternative). Save. Your devices may need to renew their IP addresses — the quickest way to force this is to toggle your device’s Wi-Fi off and back on.
On a Windows computer: Go to Network & Internet settings → Change adapter options → Right-click your Wi-Fi or ethernet connection → Properties → IPv4 Properties. Select “Use the following DNS server addresses” and enter your chosen DNS servers.
On a Mac: System Settings → Network → select your connection → DNS → click the + to add servers.
On iPhone/iPad: Settings → Wi-Fi → tap the (i) next to your network → Configure DNS → Manual → add your DNS server addresses.
On Android: Settings → Network & Internet → Private DNS → enter the hostname (Cloudflare’s is 1dot1dot1dot1.cloudflare-dns.com for encrypted DNS over TLS).
Testing whether it worked
Visit 1.1.1.1/help in your browser after switching to Cloudflare DNS — it tells you whether you’re using Cloudflare’s DNS and whether the connection is private. For other providers, simply check that DNS lookups are resolving correctly by browsing normally.
The change takes about five minutes. Most people notice pages loading slightly faster after the switch, especially on the first visit to sites that aren’t cached. And you’ve removed one more layer of your browsing activity from your ISP’s view.

Connor writes practical guides on Wi-Fi, mesh networks, and home security — breaking down complex IT topics into clear, beginner-friendly steps.
More about me →