Pi-hole: Block Ads on Every Device in Your Home with One Setup
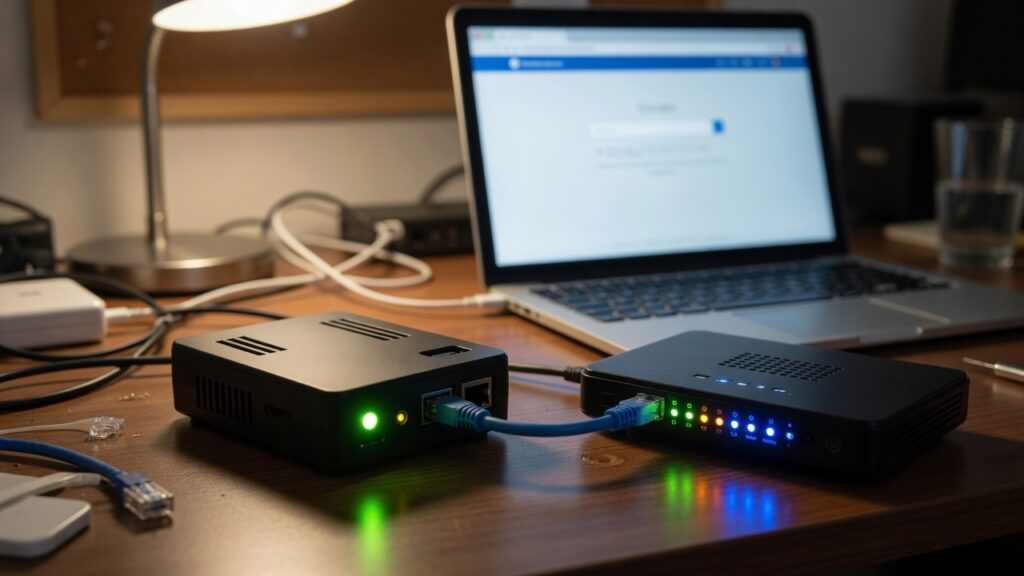
Browser ad blockers are useful but limited. They only work in supported browsers, only on the devices where they’re installed, and not on your phone’s apps, your smart TV, or any device that doesn’t support extensions. Pi-hole does something different: it blocks ads at the network level, before the request ever reaches a browser. Every device on your home Wi-Fi benefits, without installing anything on any of them.
It’s one of my favorite home network tools. It also requires a little bit more setup than most things I cover here. Let me be honest about what that looks like before you go buy a Raspberry Pi.
What Pi-hole actually does
Pi-hole is a DNS sinkhole — it acts as a DNS server for your home network (remember from the DNS post: DNS translates website names into IP addresses). When a device on your network tries to reach a known ad server, tracker, or telemetry endpoint, Pi-hole intercepts the DNS query, refuses to resolve it, and the device gets nothing back. The ad never loads. The tracker never phones home. From the device’s perspective, the resource simply doesn’t exist.
This works for everything on your network — browsers on laptops, apps on phones, smart TVs loading ads between shows, IoT devices phoning home to analytics servers. It happens transparently, before any content reaches your device.
Pi-hole maintains blocklists — curated lists of known ad and tracker domains, updated regularly by the community. You can add additional blocklists, whitelist specific domains you want to allow, and see a dashboard showing exactly how much of your network’s traffic is being blocked.
What it actually takes to set it up
Pi-hole runs on a small computer connected to your home network. The classic setup is a Raspberry Pi — the original hardware Pi-hole was designed for, hence the name. A Raspberry Pi Zero 2 W (~$15) or a Raspberry Pi 3 Model B (~$35) is more than powerful enough. You can also run Pi-hole in Docker on any computer you have running continuously, or on a spare Windows or Linux machine.
The hardware: a Raspberry Pi 4 (if you want headroom), a microSD card (16GB is plenty), and a power supply. A case is optional but recommended. Total hardware cost: around $35–60 depending on the Pi model.
The setup process:
- Flash Raspberry Pi OS Lite to the microSD card (the Raspberry Pi Imager tool makes this simple)
- Boot the Pi, log in, and run the Pi-hole installation script (one-line command, installs automatically)
- Note the Pi’s IP address
- Change your router’s DNS setting to point to the Pi’s IP address (same process as changing to Cloudflare DNS, but you point to your Pi instead)
- Done — every device on your network now uses Pi-hole as its DNS resolver
The official Pi-hole documentation at docs.pi-hole.net walks through each step. It’s well-maintained and clear.
What to expect after setup
The dashboard Pi-hole provides is genuinely interesting. You’ll see how many DNS queries your network makes per day (often thousands) and what percentage are being blocked. In a typical home, 15–30% of all DNS queries hit the blocklist. Some households see higher numbers depending on how many smart home devices and apps are running.
Performance: Pi-hole adds a tiny amount of latency to DNS resolution (sub-millisecond on a local network). In practice, it often makes browsing feel faster because ads that would have loaded simply don’t, reducing page load times. The impact is especially noticeable on ad-heavy websites.
Things you’ll notice:
- Ads gone from most apps and websites
- Streaming services (YouTube, Hulu) use different ad delivery methods that bypass DNS blocking — Pi-hole doesn’t block in-stream video ads
- Occasional false positives where a legitimate service is blocked — whitelisting is straightforward from the admin UI
Is it for everyone?
No. If you’re comfortable with a command line and willing to spend a couple of hours on setup, Pi-hole is excellent and the ongoing maintenance is minimal. If the idea of SSHing into a Raspberry Pi to check a log makes your eyes glaze over, this is probably not the right project for right now.
There are cloud-managed alternatives like NextDNS or Cloudflare Gateway that provide similar blocking via DNS without requiring local hardware. You configure them via a web interface, point your router’s DNS to their servers, and get a version of network-wide ad blocking that requires no hardware and almost no technical knowledge. Not as powerful or customizable as Pi-hole, but a reasonable starting point if you want the concept without the setup overhead.
For the technically inclined: Pi-hole is worth every minute of setup time. The dashboard alone is fascinating to watch for the first week.

Connor writes practical guides on Wi-Fi, mesh networks, and home security — breaking down complex IT topics into clear, beginner-friendly steps.
More about me →